

Microsoft Excel is a spreadsheet program that you can use to store and handle data. When working with a spreadsheet, you can organize information into columns and rows, and make calculations using the information you enter. You can use Excel to create a household budget, write shopping lists or to calculate a repayment plan for a loan. Whatever your spreadsheet goals, Carnegie Library of Pittsburgh is here to help get you started!
You can use Excel for free at any of the computers at the Library, but if you are working on your own computer or tablet you will have to purchase and install it to use the full version. If you don’t already have Excel, some free alternatives include:
- Excel Online – a free version of Excel offered through Microsoft Office Online. You will need to create a Microsoft account to use the program.
- Google Sheets – a free spreadsheet application which is part of Google’s Productivity Suite. You will need a Google account to use the program. If you already have a Gmail account, you can use that to sign into Google Sheets.
- OpenOffice Calc – a free downloadable spreadsheet program offered by Apache OpenOffice.
If you are using one of these free spreadsheet programs, the instructions in this article might not match up perfectly, but the main details of the program will be the same.
Let’s take a look at the basic features of Excel:
Try it out – locate the Excel Icon on your desktop. Double click to open the program and select “Blank Workbook” to start a new spreadsheet.
- The document that opens is called a workbook. You will see a page made up of lots of small boxes on your screen.
- The command menu at the top of your screen is called the ribbon. It has many different headings, or tabs, labelled “File,” “Home,” “Insert” and so on. When you click on each tab in turn you will see that a different set of commands appears below the tabs.
- Each workbook is made up of one or more worksheets. You can add more worksheets by clicking on the small plus sign (+) towards the bottom left of your screen. Your worksheet is already titled “Sheet1,” but you can give it a different name by right-clicking on it and selecting “Rename.” Each worksheet is made up of numbered rows and lettered columns which contain cells.
- The cells are the small boxes where you will type numbers, text or formulas.
Next, we’ll try out some of the essential skills you will need to use Excel:
- To move between cells – Use the arrow keys on your keyboard. You can also move your mouse pointer to your chosen cell and click once. When your mouse pointer is moving around in the worksheet, you will see that it looks like a cross on your screen.
- To edit or add to a cell’s contents – Click once on the cell and begin to type. Warning: this will erase anything already in the cell. If you want to edit existing text, click once on the cell then click in the Formula Bar at the top of the worksheet and make your edits.
- To save a workbook – Click on the File tab. Select “Save As” if you are saving your workbook for the first time. Select “Save” if you are editing an existing document.
- To print a worksheet – Click on the File tab and select “Print.” Please note that long worksheets sometimes don’t fit on a single page. The Print Preview function shows you what your printed page will look like.
- To select several cells – Place the mouse pointer on the first cell you want to highlight. Click the left mouse button and hold it down as you drag the mouse to the last cell you want to highlight. Don’t let go of the mouse button until you have selected all the cells you need in this range.
- To apply a format to a cell – If your data needs a special format (like a date, currency or time) you can apply formats to your cells. Click on the cell or range of cells you want to format. In the middle of the ribbon, click on the appropriate icon in the Number group.
- To add a formula to a cell – Calculating numbers is one of the most useful functions of Excel. Formulas allow you to automatically add, subtract or multiply data (among other things). Let’s take a look at the steps you need to add data using a formula.
Try it out – First, type numbers in a range of cells across a single row. Let’s try typing 1-10 in the first row like this:
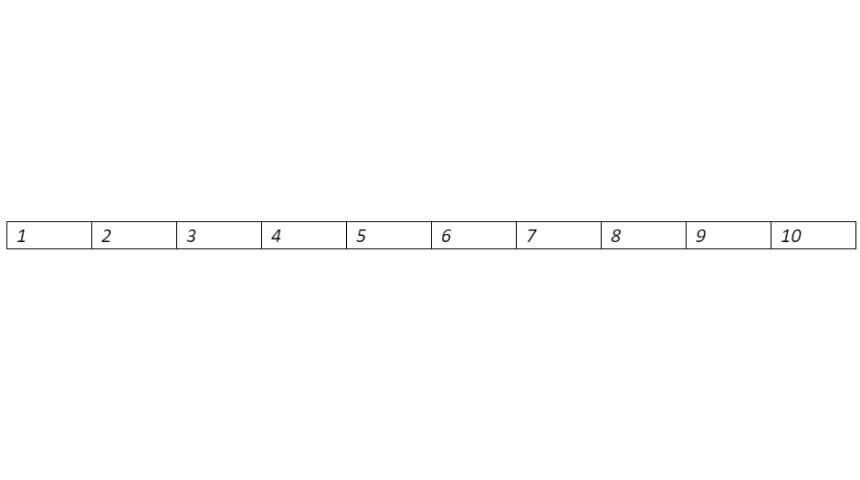
Next, click on the cell at the end (to the right) of your row of data. Under the Formula Bar in the Ribbon, you will see an icon at the left with the fx symbol. When you click the icon, a box will appear allowing you to select from a list of common formulas. To add your data together, select SUM and click OK. In the next box, select the cells you would like to use in your formula. In this case, you will select A1: J1. Click OK again, and you should see the correct answer (55) appear in the cell on your worksheet.
If you would like more information about using Microsoft Excel as well as the opportunity to practice creating a budget using a spreadsheet, try watching this interactive video on the Carnegie Library website. Click on the link below to begin.
Creating a Basic Budget with Excel – Digital Online Tutorial